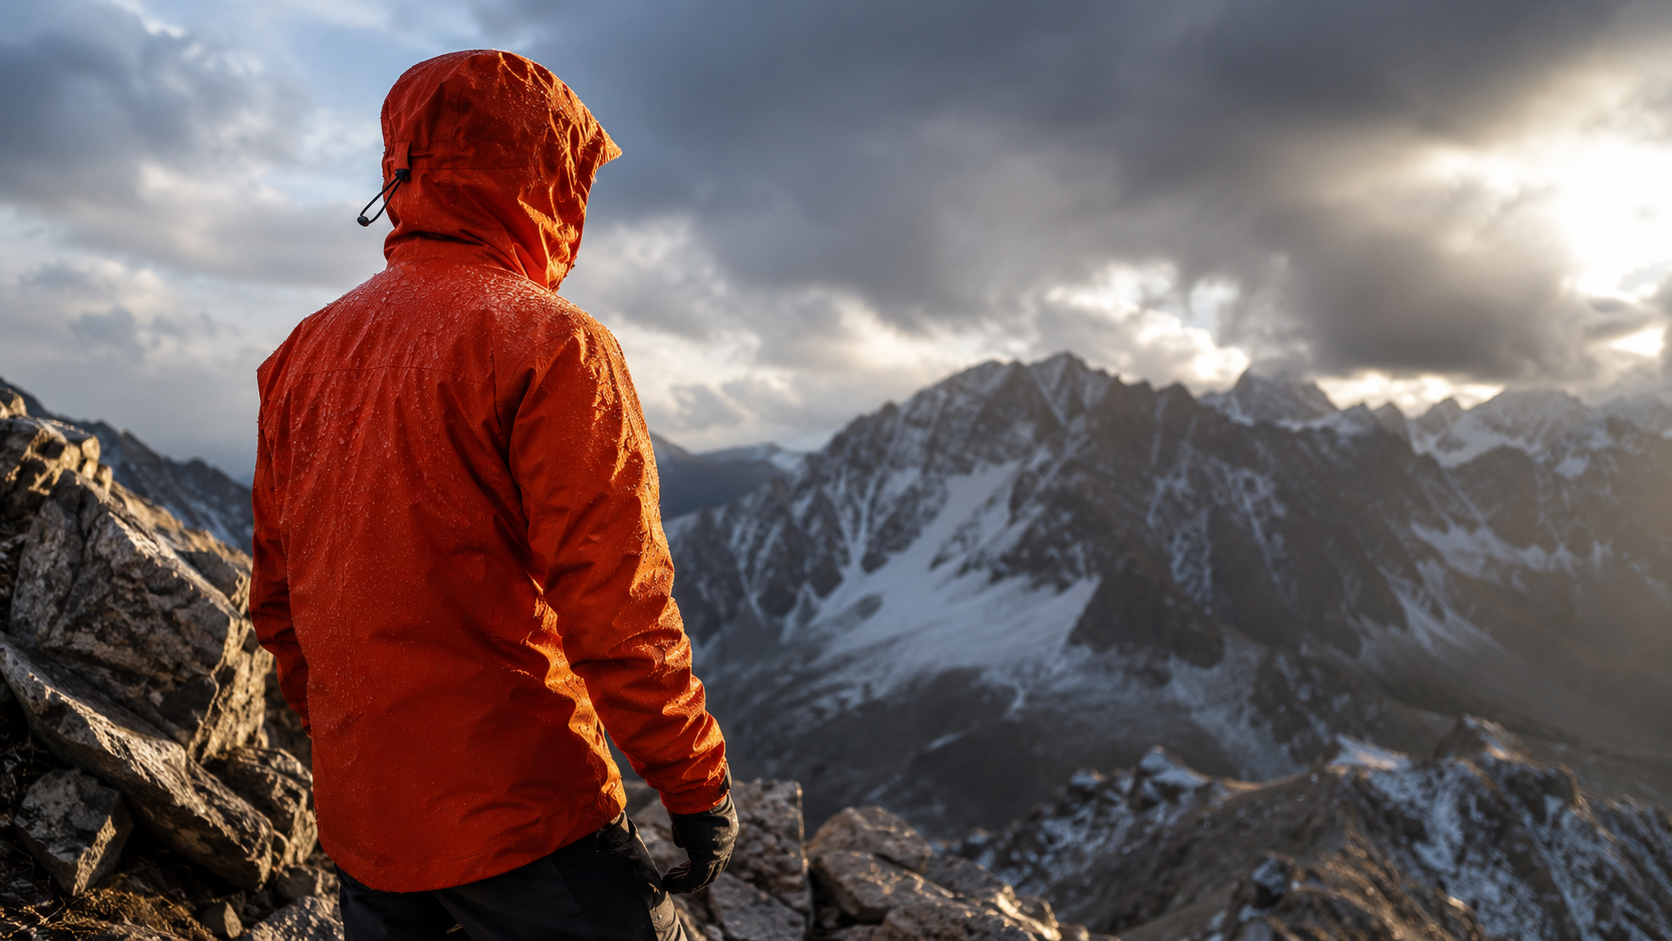
Why Your Hiking Boots Give You Blisters (And the Fit Fix That Works)
Blisters aren't inevitable on long hikes — they're a fit and sock problem with specific solutions. Here's the protocol that eliminates them.
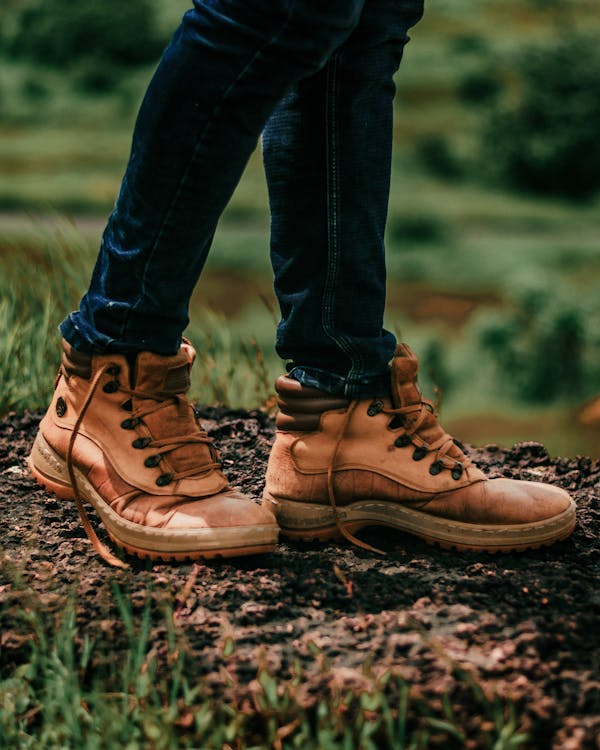
Hiking boot blisters have four causes — heel slippage, toe box compression on descents, wrong sock thickness, and moisture retention — and eliminating all four requires matching boot fit, lacing technique, and sock weight to your specific foot shape and terrain.
Why blisters happen and why 'break-in' is mostly myth
The outdoor industry sells boot break-in as the solution to blisters. The research and our field experience say otherwise: a properly fitted boot shouldn't require break-in to be comfortable. Blisters form when repeated friction at a specific contact point causes skin layers to separate — the friction source is either movement within the boot (heel slippage, toe box too wide) or external pressure (toe box too narrow, lacing too tight at one point). Breaking in a boot softens the leather or upper material but doesn't fix the underlying fit issue. Fix the fit; the break-in takes care of itself. For the boots that fit the widest range of foot types, see our [hiking boot editors pick](/hiking-boot-editors-pick).
Step 1: Fix heel slippage first
Heel slippage — the boot lifting away from your heel on each uphill step — creates friction at the Achilles and back of the heel. Test: lace the boot normally, walk uphill on a slope. If your heel lifts more than 3mm from the boot insole, the boot is too large or the heel pocket doesn't match your foot shape. Fix: try the heel-lock lacing technique — thread the laces through the top eyelet loop to create a locking mechanism that pulls the heel back into the boot cup. If slippage persists after lacing adjustment, the boot is the wrong last shape for your foot — try Salomon (narrow heel, average width) or Keen (wider toe box, average heel).
Step 2: Address toe box compression on descents
Toenail bruising and toe blisters on descents are caused by the foot sliding forward in the boot, compressing toes against the front. Fix: ensure 1cm of space between your longest toe and the boot toe box when standing on flat ground — this space compresses to correct on steep downhill. Lace tightly across the midfoot to prevent forward slide. If your toenails hit the front on descents despite correct sizing, your boot toe box is too low — try Scarpa or La Sportiva models with higher toe box geometry.
Step 3: Match sock thickness to boot fit
A boot fitted with thin liner socks that you then wear with thick wool socks has effectively changed to a tighter size. Fit boots with the exact sock thickness you'll hike in — bring your trail socks to the boot fitting. Darn Tough Hiker Micro Crew ($22, medium cushion) is our reference sock for fitting most trail boots. If you prefer liner sock plus outer sock combinations, fit the boot with both layers.
Step 4: Manage moisture
Moisture softens skin and dramatically increases blister susceptibility — wet feet blister in half the friction of dry feet. Wool socks (Darn Tough, Smartwool) manage moisture better than synthetic in multi-day conditions because wool retains insulation when wet and resists odor without washing. Change socks at lunch on multi-day hikes. Apply foot powder (talc or cornstarch) to high-friction areas before long days.
What are the best socks for preventing hiking blisters?
Merino wool socks in medium cushion weight prevent blisters more effectively than thin or thick options for most hikers. Thin socks reduce padding between foot and boot, increasing friction. Extra-thick socks can bunch at flex points. Darn Tough and Smartwool medium-cushion socks are our tested recommendations — both use fine-gauge merino that resists bunching. Liner socks (thin nylon or polyester) under a wool outer sock add a slip layer that reduces friction at the sock-to-skin interface — effective for blister-prone hikers on long approaches.
When should you use blister prevention products?
Apply Bodyglide or similar anti-friction balm to known hot spots before the hike begins — heel, little toe outer edge, and ball of foot for most hikers. Reapply at the first sign of warmth or friction awareness; waiting until a blister forms means the skin is already compromised. Moleskin and pre-cut blister pads are treatment tools, not prevention — use them when a hot spot develops mid-hike to protect the area before it blisters fully.
Content may contain affiliate links. We earn a commission if you purchase through our links, at no extra cost to you.
Join the conversation
- Loading comments…